A macro chains several QuickAdd actions into one command you can run from the palette or a hotkey. Instead of running a template, then a capture, then a script by hand, a macro runs them in order and passes data from one step to the next. Reach for a macro when a single choice isn’t enough. Use it to:
- Ask a question once and reuse the answer across several steps
- Run your own JavaScript to talk to the Obsidian API or another plugin
- Branch the workflow based on what you picked or what a script returns
- Kick off a routine automatically when Obsidian starts
Macros are QuickAdd’s most capable - and most technical - choice type. You don’t need to be a programmer to start: the walkthrough below uses no code at all. The deeper sections assume you’re comfortable with a little JavaScript.
What is a macro?
Section titled “What is a macro?”A macro is a list of commands that run one after another. Each macro is paired with a macro choice, the entry that shows up in the QuickAdd menu and gives you something to trigger.
The pieces
Section titled “The pieces”- Macro choice - the trigger that appears in the QuickAdd menu.
- Macro - the actual sequence of commands that runs.
- Commands - the individual steps (Obsidian commands, scripts, AI prompts, and more).
- Variables - data that one command sets and a later command reads, all within a single run.
Set up your first macro
Section titled “Set up your first macro”We’ll build a tiny macro with no code: it opens today’s daily note and drops your cursor at the end, ready to type. Two commands, run as one.
Step 1: Create the macro choice
Section titled “Step 1: Create the macro choice”- Open Settings → QuickAdd, type a name like
Open daily note, choose Macro in the dropdown, and click Add Choice. - Click the gear (⚙) next to the new choice to open the Macro Builder.
Step 2: Build the macro
Section titled “Step 2: Build the macro”- In the Macro Builder, add an Obsidian Command and pick
Daily notes: Open today's daily note. - Add an Editor commands entry and choose Move cursor to file end.
- Close the builder, then run it: command palette →
QuickAdd: Run→Open daily note.
Your daily note opens and the cursor sits at the end of the file, ready for the next line - both steps in a single command. Assign the choice a hotkey (the ⚡ icon, or Obsidian’s Hotkeys settings) once it behaves the way you want.
The commands you can add
Section titled “The commands you can add”The Macro Builder offers these command types. Add as many as you like, in any order.
| Command | What it does |
|---|---|
| Obsidian Command | Run any Obsidian command, for example Daily notes: Open today's daily note or Toggle reading view. |
| Editor commands | Manipulate text in the active editor: copy, cut, paste, paste with format, select the line or a link on it, and move the cursor. See Editor commands. |
| User Script | Run your own JavaScript to reach the Obsidian API, do complex work, or integrate with other plugins. See Add a user script command. |
| Nested Choice | Run another QuickAdd choice - a template, capture, or another macro - so you can reuse existing work and build modular workflows. |
| Wait | Pause for a set number of milliseconds, useful when a previous command needs time to finish. |
| AI Assistant | Run an AI prompt to generate or process content. Available once you’ve configured an AI provider. |
| Open File | Open an existing file at a formatted path. Supports all format syntax ({{DATE}}, {{VALUE}}, and so on), with tab and split options. It opens in the default view mode with focus, and only opens files that already exist (it won’t create one). |
| Conditional | Branch the run based on live data. See Branch with a conditional. |
Add a user script command
Section titled “Add a user script command”Macros don’t contain JavaScript directly. Your code lives either in a .js file
inside your vault or in a ```js code block inside a note, and the macro
simply runs it. The note option is handy on mobile, where Obsidian cannot open
.js files - see
User Scripts.
Create a script file such as scripts/my-macro.js, or a note such as
Scripts/my-macro.md with your code in a ```js (or ```javascript)
block. QuickAdd runs the first matching JavaScript block in a note and
ignores the surrounding prose.
To add it, open the Macro Builder and add a User Script command. There are two ways to point it at your script:
- Browse opens QuickAdd’s script picker (not your operating system’s file
picker). It lists the
.jsfiles and notes-with-a-code-block that Obsidian has already discovered, so it can’t reach files outside the vault or hidden from Obsidian’s index. - Type it in. For a
.jsfile, type its basename - forscripts/my-macro.js, entermy-macro. For a note, type its vault path, for exampleScripts/my-macro.md. Then click Add. To run a specific exported function, append it with::, such asmy-macro::start.
If the script exports more than one function and you don’t name one, QuickAdd asks which export to run. You can also set an output variable name so later commands can reuse the result.
Good to know:
- To insert text into a note, don’t write it in a script. Use a Template or Capture choice and run it from the macro as a Nested Choice command. That’s the intended way to write content, and no YAML frontmatter is required.
- If your script calls the API of another plugin, that plugin must be installed and enabled in your vault. You don’t need any extra plugin just to run user scripts.
Branch with a conditional
Section titled “Branch with a conditional”A conditional command lets your macro take one path or another without writing boilerplate JavaScript. Each conditional has:
- Condition mode - compare a macro variable, or run a script that returns
true/false. - Variable comparisons - test a variable with operators like equals, contains, less than, greater than, or a basic truthiness check. The value type (text, number, boolean) controls how the two sides are compared.
- Script mode - point to a JavaScript file in your vault (with an optional
exported function) that returns a boolean. The script gets the same parameters
as any user script, including your macro variables and
params.abort. - Branch editors - the commands that run when the condition passes (Then) or fails (Else). Each branch is a full command sequence, so you can nest more conditionals or reuse any command type.
To add one:
- Click the branch icon in the command bar of the Macro Builder (or of any conditional branch editor).
- Click the settings icon on the new command to define the condition.
- Use the branch buttons to set the commands that run for the Then and Else outcomes.
The macro runs the matching branch in order, then continues with the rest of the macro. Branch commands share the same variable map as the outer macro, so they can read or update variables for later steps.
Editor commands
Section titled “Editor commands”Editor commands manipulate text in the active editor.
Paste with format
Section titled “Paste with format”Paste with format preserves rich formatting when you paste from an external source. Unlike the standard paste, which handles plain text only, it:
- Detects HTML in your clipboard
- Converts it to Markdown using Obsidian’s built-in conversion
- Preserves formatting like links, bold, italics, headers, and lists
- Falls back gracefully to plain text when no HTML is available
What that looks like in practice:
| You copy | You paste |
|---|---|
| A formatted link from a webpage | [Link Text](https://example.com) |
| Text with bold/italic | bold and italic preserved |
| A bulleted list | A proper Markdown list |
| A table from a website | A Markdown table |
The other editor commands
Section titled “The other editor commands”- Copy / Cut / Paste - standard clipboard operations.
- Select active line - select the whole line the cursor is on.
- Select link on active line - find and select a link on the current line.
- Move cursor to file start / file end - jump to the beginning or end of the file.
- Move cursor to line start / line end - jump to the beginning or end of the current line.
User scripts
Section titled “User scripts”A user script extends a macro with custom JavaScript, written either in a .js
file or in a ```js code block inside a note. Scripts have access to:
- The Obsidian
appobject - The QuickAdd API
- A
variablesobject for passing data between commands
The basic shape is an exported async function - QuickAdd calls it with a
params object that carries everything you need:
module.exports = async (params) => {    // Destructure the parameters    const { app, quickAddApi, variables } = params;
    // Your code here    console.log("Hello from my macro!");
    // Set a variable for use in later commands    variables.myResult = "Some value";};
Everything else about writing scripts lives in the User Scripts reference:
- Where a script can live -
.jsfile or note code block, and which folders QuickAdd’s picker can see. - Prompt the user - input prompts, suggesters, yes/no, and checkbox prompts via
quickAddApi; the full method list is in the QuickAdd API. - Read the editor selection -
quickAddApi.utility.getSelection(). - Reach into other plugins - talk to Templater, MetaEdit, or any plugin through
app.plugins.plugins. - Offer several actions from one script - export more than one function and pick at run time.
- Configurable settings, error handling and
abort(), and a shelf of copy-paste recipes.
Pass data between commands: variables
Section titled “Pass data between commands: variables”Every command in a macro shares one temporary variable map for the current run.
A user script can write params.variables.bookTitle, and a later Template or
Capture command can read it back as {{VALUE:bookTitle}}.
For the full rules - named VALUE prompts, empty values, AI Assistant output
variables, and the executeChoice boundary - see
Variables and data flow.
Run one export directly: Macro::member
Section titled “Run one export directly: Macro::member”When a script exports several functions, QuickAdd normally asks which one to run. You can skip that prompt by naming the function:
{{MACRO:MyMacro::option1}}runsoption1directly.{{MACRO:MyMacro::start}}runs thestartfunction.
When a macro has more than one user script, Macro::member picks the script
that uniquely exports the requested member across all scripts in the macro.
QuickAdd resolves it like this:
- If exactly one script exports the member, QuickAdd uses it.
- If no script exports the member, QuickAdd stops and shows an error.
- Exception: if the macro has no user-script commands at all, QuickAdd can’t satisfy member access - it logs a warning and returns an empty result instead of stopping the macro.
- If several scripts export the member, QuickAdd stops and lists the conflicting script names instead of guessing.
- Exception: the convention keys
settings,entry, andquickadd(which many scripts export as metadata rather than entrypoints) resolve to the first script that exports them and show a one-time notice pointing at the selector form below, rather than stopping. Use the selector if you need a different script.
When there’s a conflict, target a specific script by name:
{{MACRO:MyMacro::Script 1::option1}}
The selector uses the macro command name shown in the editor. If two user-script commands share the same name, rename one before using the selector form.
Macro settings
Section titled “Macro settings”
Run on startup
Section titled “Run on startup”Enable this to run a macro automatically when Obsidian starts. Handy for:
- Creating a daily note automatically
- Setting up your workspace
- Running maintenance tasks
Practical examples
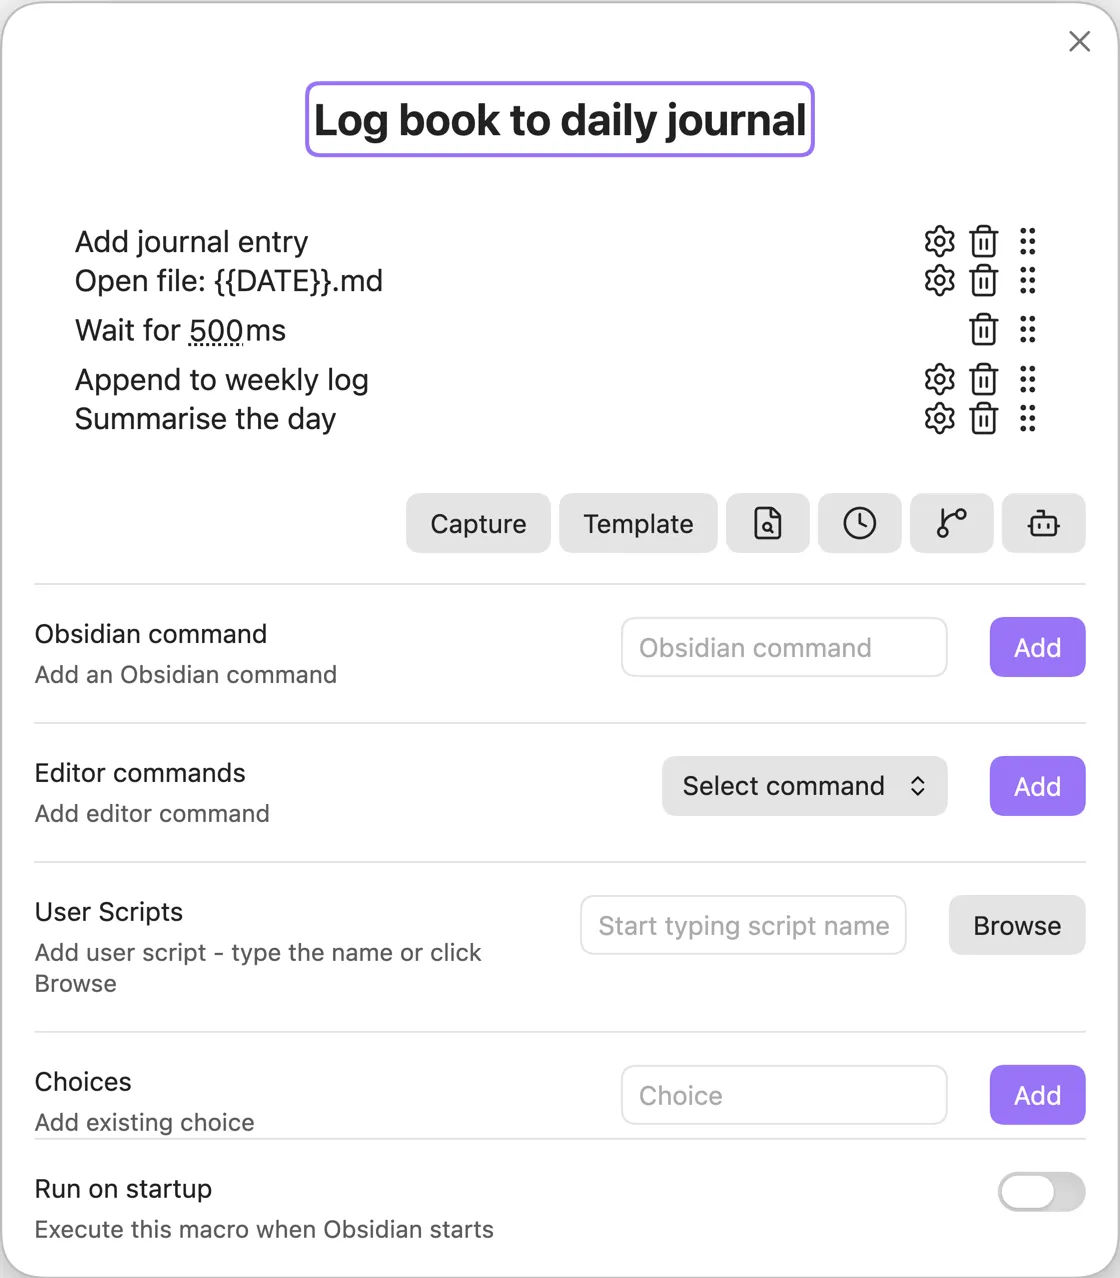
Section titled “Practical examples”Example 1: Log a book to your daily note
Section titled “Example 1: Log a book to your daily note”Prompt for a book name and write it into today’s daily note (using the MetaEdit plugin):
module.exports = async (params) => {    const { quickAddApi: { inputPrompt }, app } = params;
    // Get book name from user    const bookName = await inputPrompt("📖 Book Name");
    // Get MetaEdit plugin    const { update } = app.plugins.plugins["metaedit"].api;
    // Format today's date    const date = window.moment().format("YYYY-MM-DD");
    // Update the daily note    await update("Book", bookName, `Daily Notes/${date}.md`);};
Example 2: Create a task with priority
Section titled “Example 2: Create a task with priority”Ask for a task and a priority, then hand them to a later Template command as variables:
module.exports = async (params) => {    const { quickAddApi, app, variables } = params;
    // Get task details    const task = await quickAddApi.inputPrompt("Task description:");    const priority = await quickAddApi.suggester(        ["🔴 High", "🟡 Medium", "🟢 Low"],        ["high", "medium", "low"]    );
    // Set variables for use in template    variables.taskDescription = task;    variables.taskPriority = priority;    variables.taskCreated = new Date().toISOString();
    // Create task note using template (in next macro command)};
Example 3: Scaffold a research workspace
Section titled “Example 3: Scaffold a research workspace”Chain several operations: create a folder structure for a topic, then set variables for a later template step to fill an overview note.
module.exports = async (params) => {    const { quickAddApi, app, variables } = params;
    // Get research topic    const topic = await quickAddApi.inputPrompt("Research topic:");
    // Create folder structure    const vault = app.vault;    const researchFolder = `Research/${topic}`;
    // Check if folder exists    if (!await vault.adapter.exists(researchFolder)) {        await vault.createFolder(researchFolder);        await vault.createFolder(`${researchFolder}/Sources`);        await vault.createFolder(`${researchFolder}/Notes`);    }
    // Set variables for template    variables.researchTopic = topic;    variables.researchFolder = researchFolder;
    // Next commands in macro will create the overview note};
When a macro stops
Section titled “When a macro stops”What stops a macro
Section titled “What stops a macro”A macro stops early in three situations:
- You cancel - press Escape or click Cancel in any prompt.
- A script errors - an unhandled error is thrown in a user script.
- A script aborts on purpose -
params.abort()is called.
When a macro stops:
- Every remaining command is skipped.
- A message is logged explaining why.
- For your own cancel and for explicit aborts, no error dialog appears.
- For a script error, the full error and stack trace are kept for debugging.
Best practices
Section titled “Best practices”1. Handle errors
Section titled “1. Handle errors”Wrap script work in try/catch so a failure is visible and stops the rest of
the macro:
module.exports = async (params) => { try { // Your code here } catch (error) { console.error("Macro error:", error); new Notice(`Macro failed: ${error.message}`); throw error; // Re-throw to stop remaining macro commands }};2. Check for plugin dependencies
Section titled “2. Check for plugin dependencies”Confirm a required plugin is present before you use it:
module.exports = async (params) => {    const { app } = params;
    const requiredPlugin = app.plugins.plugins["plugin-id"];    if (!requiredPlugin) {        new Notice("Required plugin not found!");        return;    }
    // Continue with plugin operations};
3. Use meaningful variable names
Section titled “3. Use meaningful variable names”Descriptive names keep a macro readable:
- ✅
variables.projectName - ✅
variables.meetingDate - ❌
variables.var1 - ❌
variables.temp
4. Keep it modular
Section titled “4. Keep it modular”Break a complex macro into smaller, reusable parts:
- Put distinct operations in separate scripts.
- Reuse existing choices with Nested Choice commands.
- Keep each script focused on a single purpose.
Troubleshooting
Section titled “Troubleshooting”Common issues
Section titled “Common issues”“Syntax error: unexpected identifier”
- Usually a JavaScript syntax error in your script.
- Check for a missing semicolon, bracket, or quote.
- See issue #417 for detailed solutions.
“Cannot read property of undefined”
- A plugin or API you’re reaching for doesn’t exist.
- Add a null check before you use a plugin’s API.
- Make sure the plugin is enabled before you run the macro.
Variables not passing between commands
- Use a named placeholder such as
{{VALUE:sharedName}}, or setparams.variables.sharedName, for values later steps need. - Make sure the script runs before the command that reads its variables.
- See Variables and data flow for the full model.
Macro not appearing in command palette
- Make sure the macro choice is enabled in settings.
- Restart Obsidian if you just created the macro.
- Check that QuickAdd is enabled in Community Plugins.
Tips and tricks
Section titled “Tips and tricks”- Test incrementally - build the macro one command at a time, testing each.
- Use
console.log- log values to the developer console while debugging. - Keep scripts in your vault - so you can version and back them up.
- Share macros - export and import macro configurations with other users.
- Combine with hotkeys - assign a shortcut to a macro you run often.
See also
Section titled “See also”- Template Choices - for creating new notes
- Capture Choices - for appending to existing notes
- Format Syntax - available placeholders
- QuickAdd API - detailed API documentation
- Examples - pre-built macro examples